

Saved Cards in Your App with Blocks
Let authenticated users add a card to their profile and pay with it in a later in-app purchase.
For a standard in-app checkout, the Checkout integration provides a simpler integration. Open paymentWindowUrl in a Webview and let ePay provide the full payment UI.
This guide shows how to build a more native app experience with Blocks and profile saved cards.
This guide shows an app-first saved-card flow:
- A signed-in cardholder adds a card to their profile.
- The app securely stores the card with ePay Blocks.
- On a later purchase, the app charges the selected saved card without asking for card credentials again.
In this guide, the authenticated user is signed in to your merchant app, and customerId is that user's stable ID in your merchant system.
The same card-setup flow works for every card the cardholder chooses to save. Store each paymentMethodId on the user's profile and let the cardholder select one at checkout.
Only use a stable customerId from the signed-in merchant user's profile. Do not use guest IDs. Your backend must load the selected saved paymentMethodId from the signed-in user's profile before it creates a payment session. ePay verifies that the payment method belongs to the session's customerId when the transaction is created.
Flows
This guide covers the two main flows of adding a card to the user profile and later charging the saved card.
Add a card to the profile
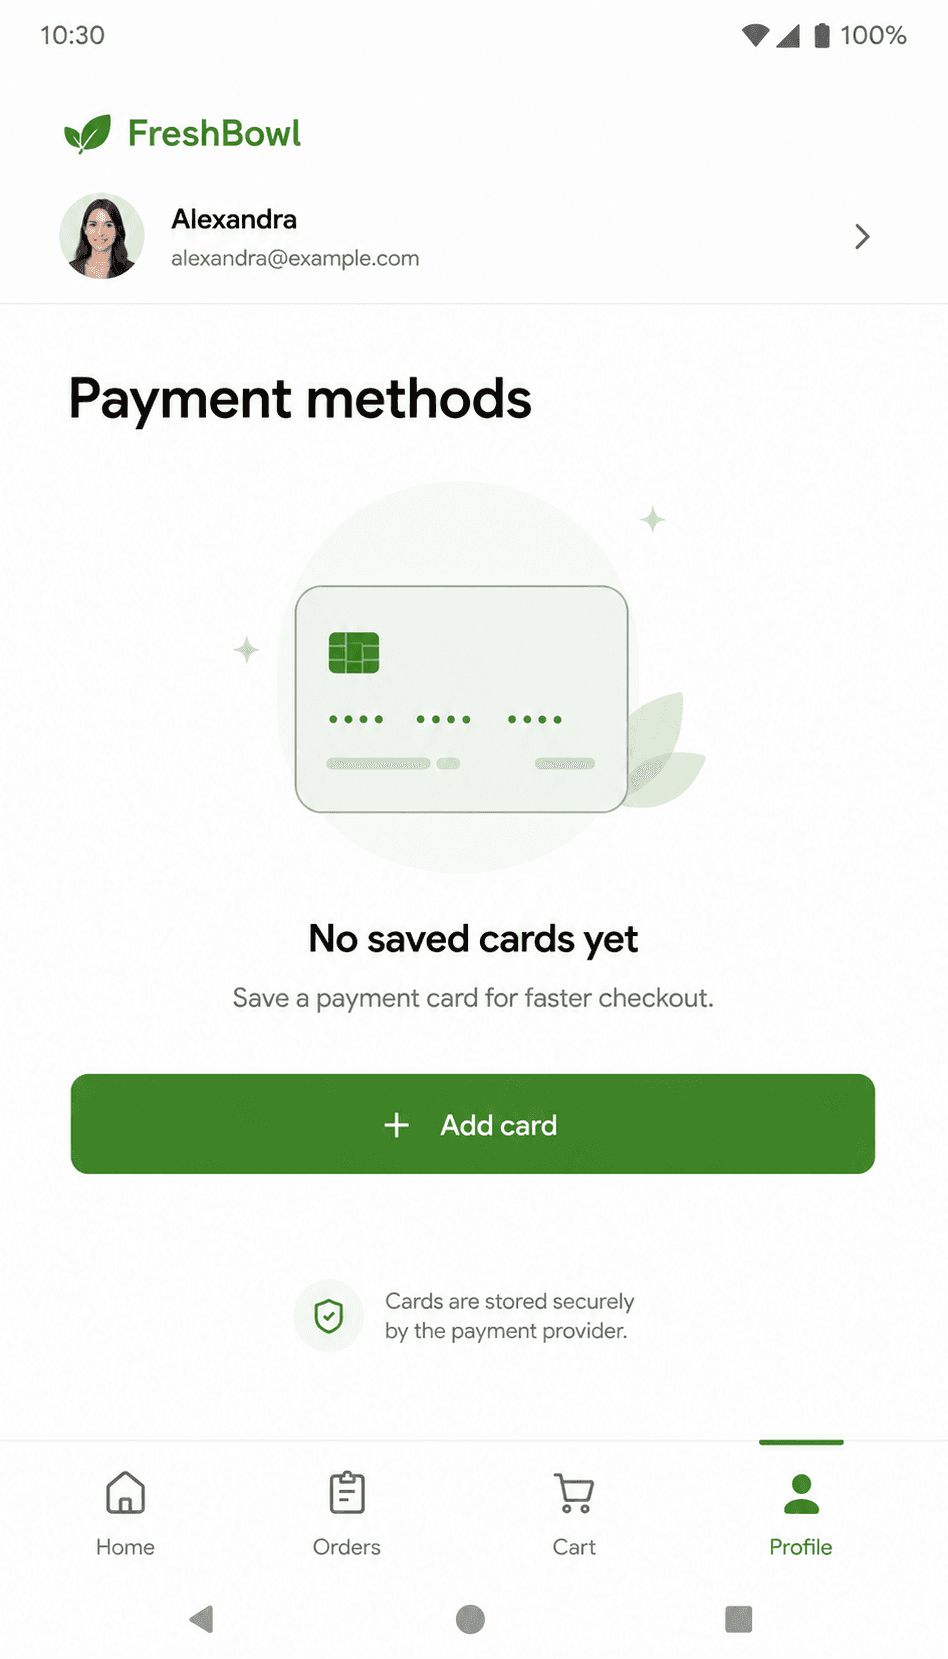
Profile with no saved card
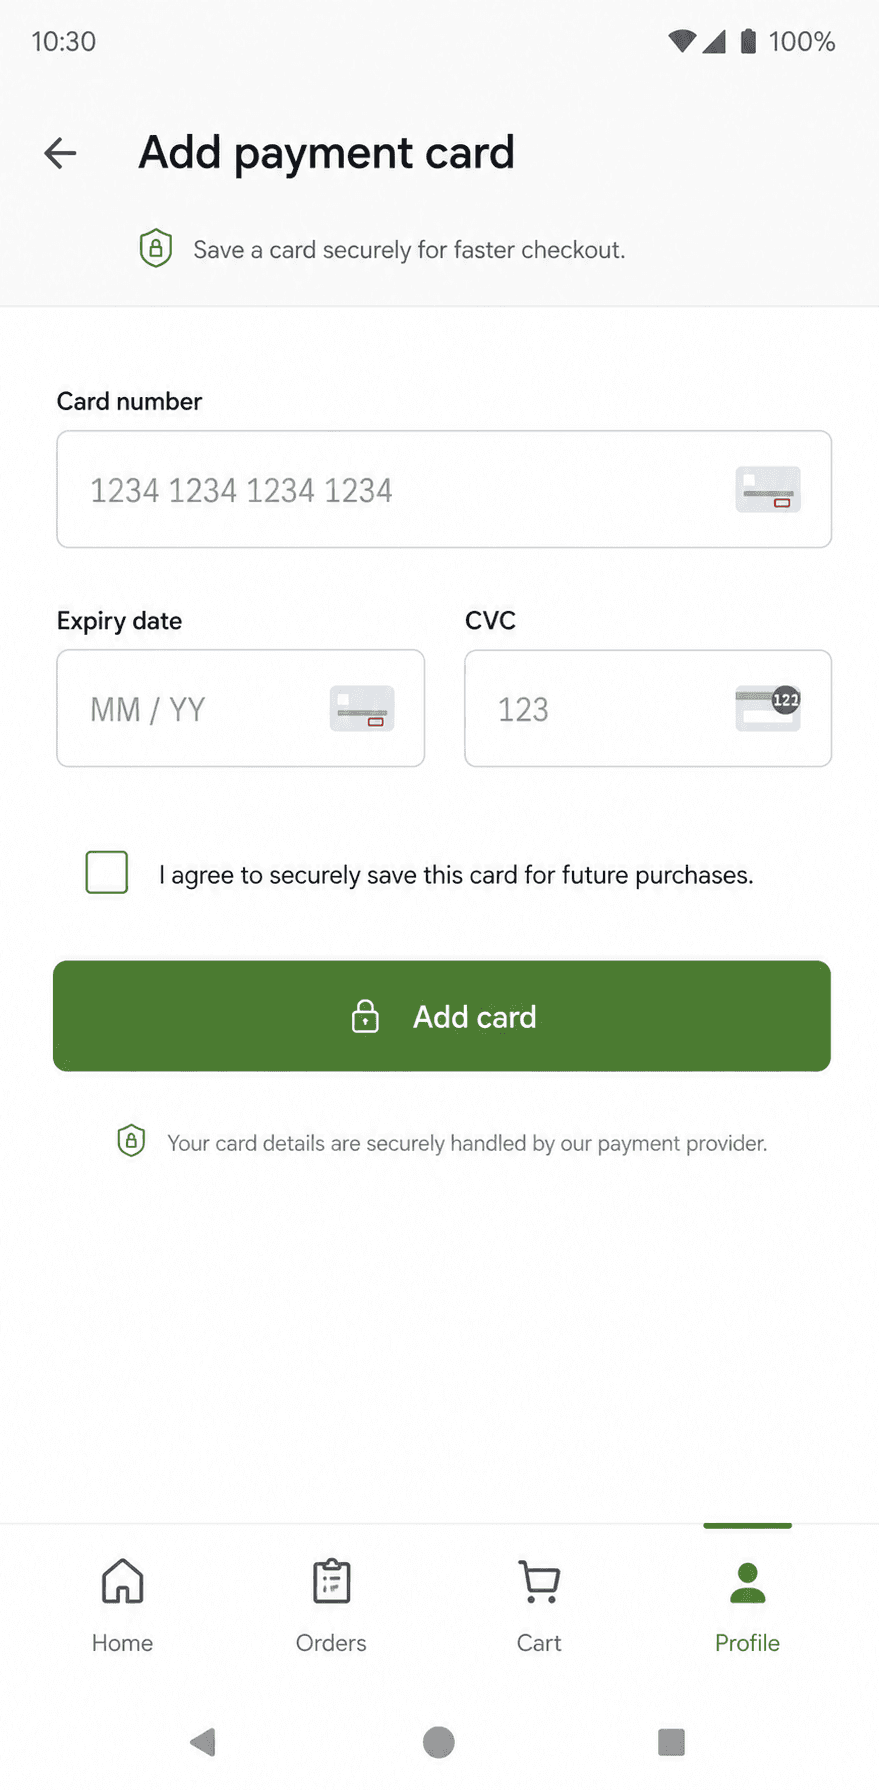
Card details entered in hosted fields
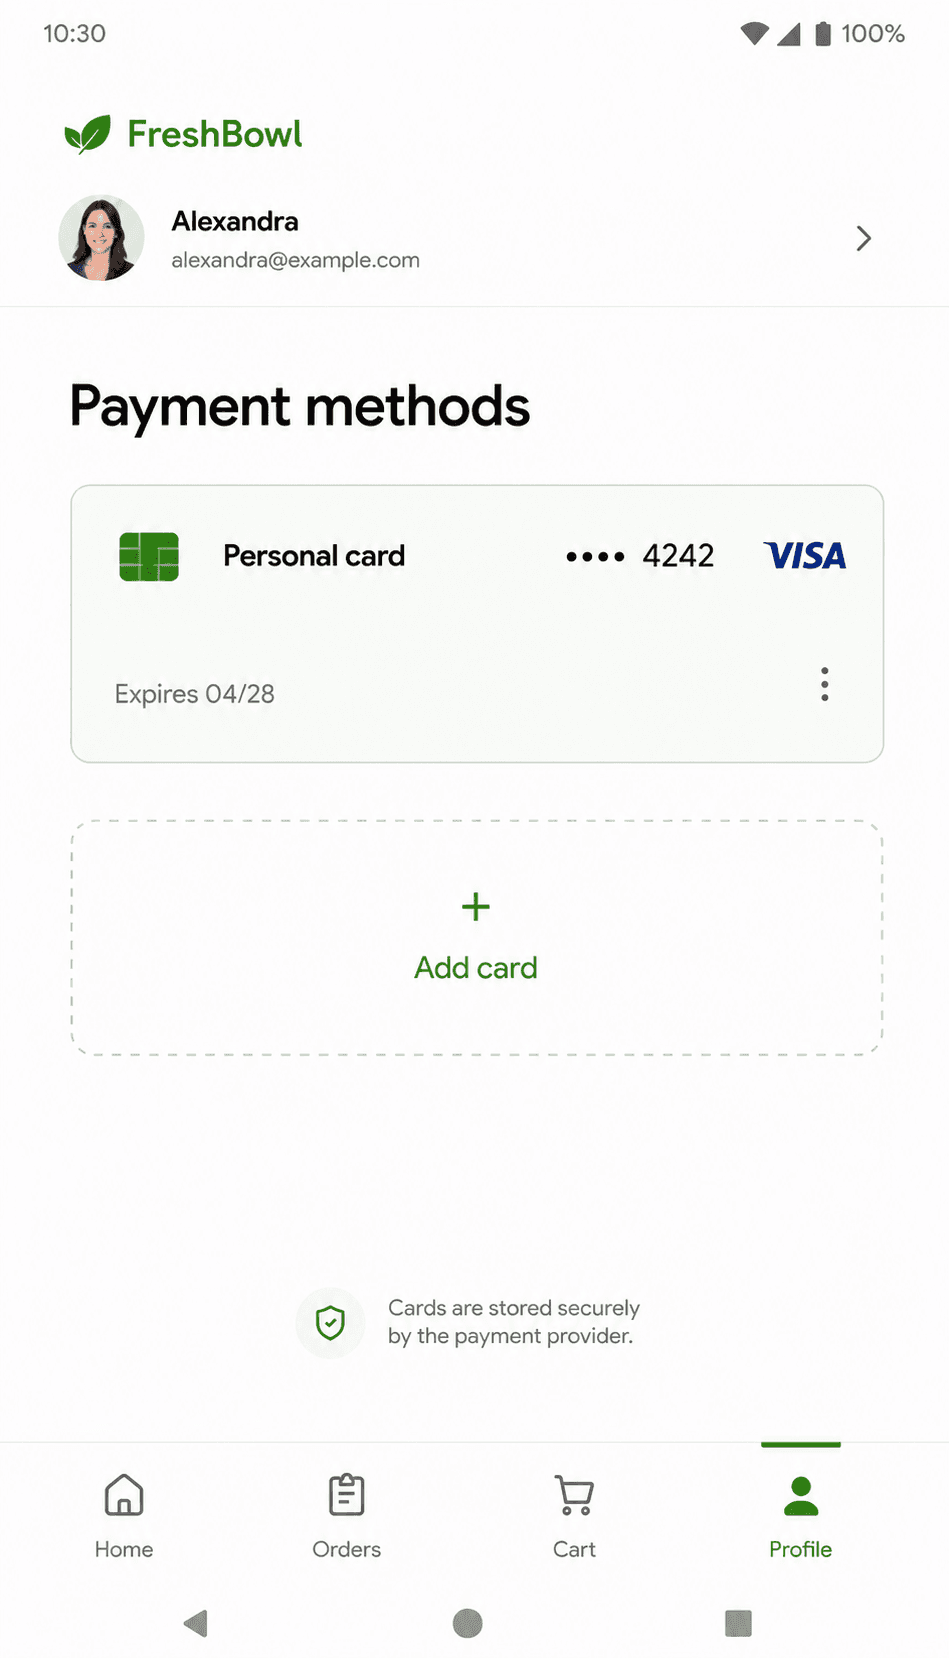
Card saved to the profile
Charge a saved card
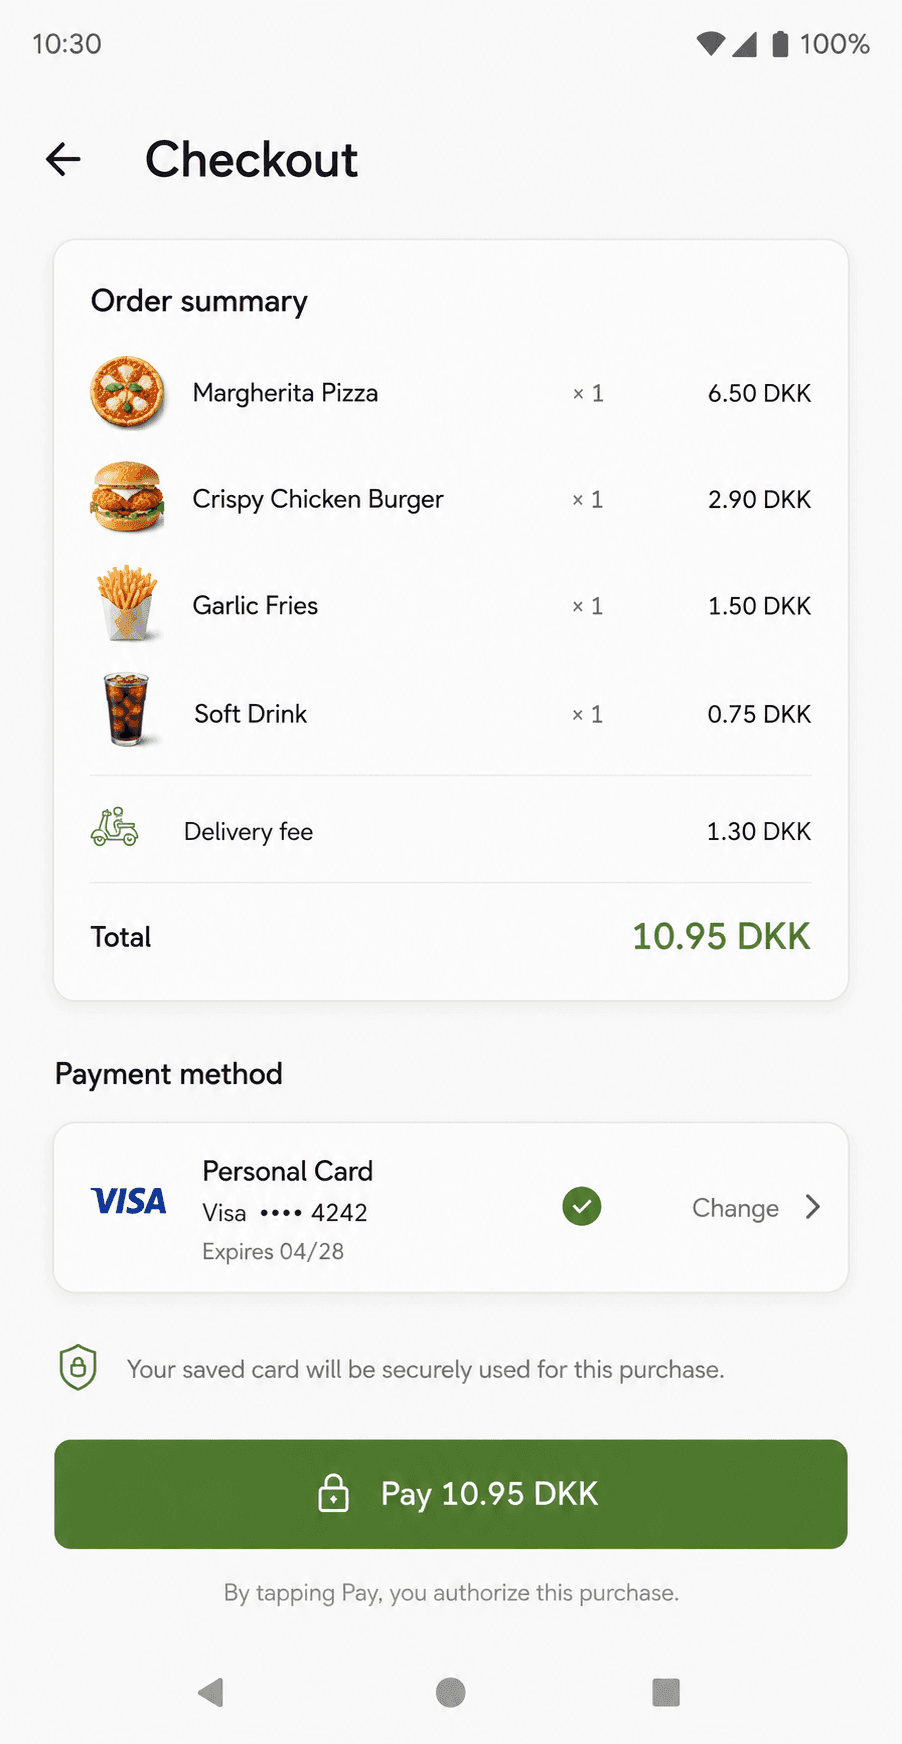
Purchase with a saved card
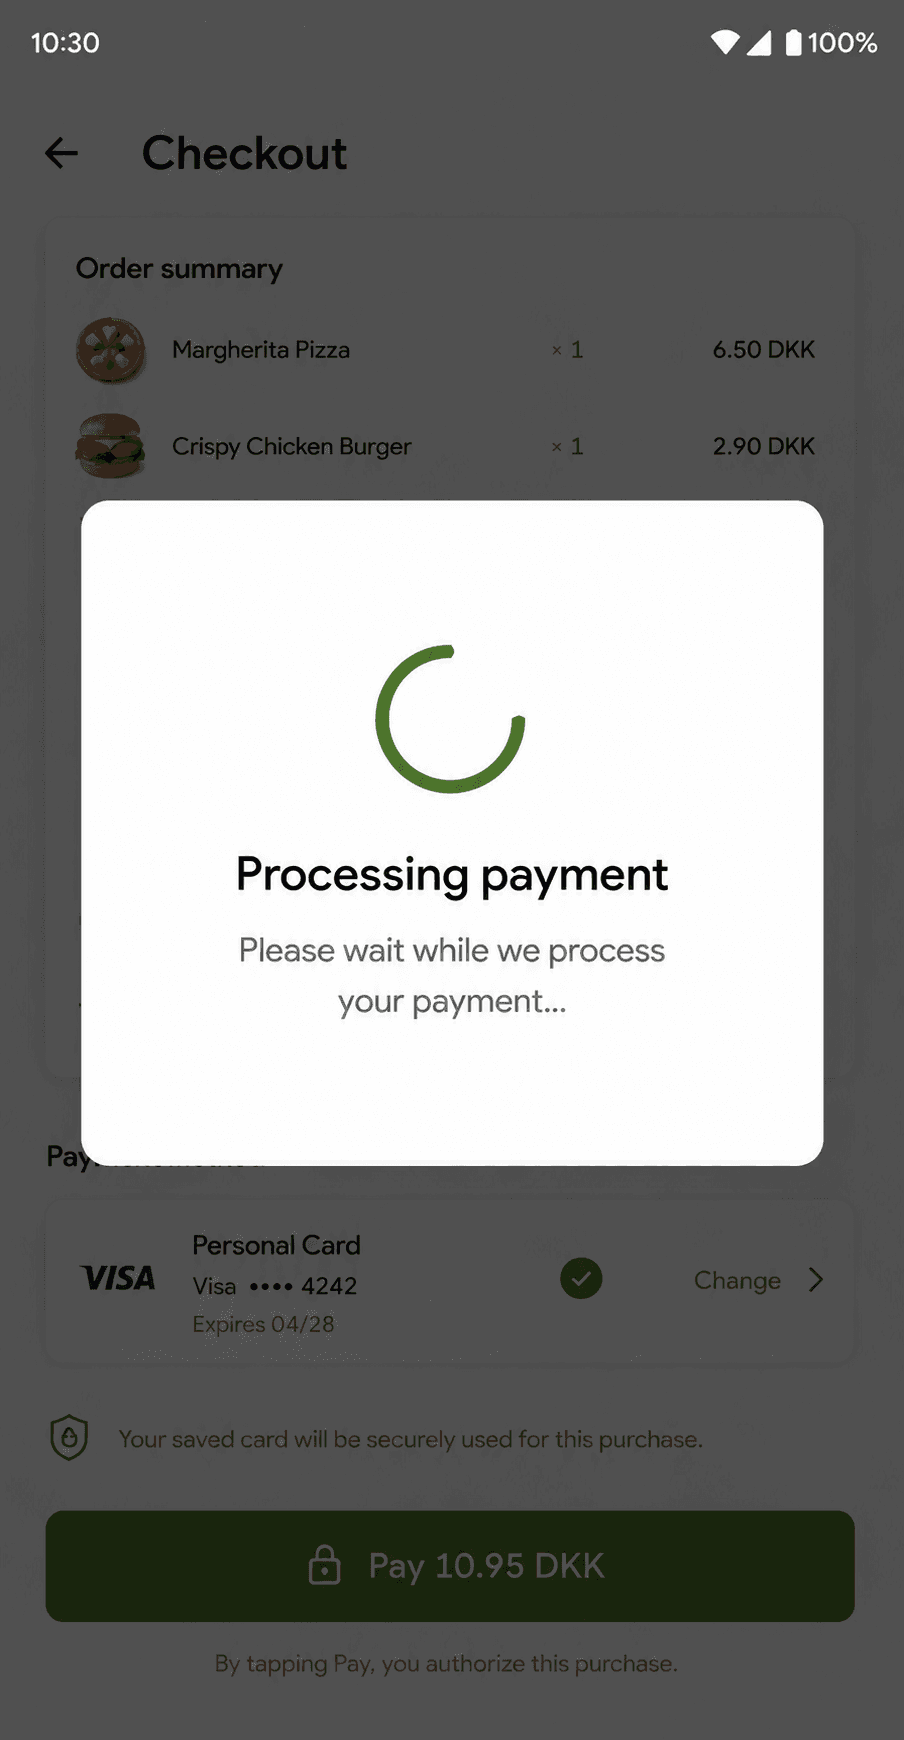
Payment processing
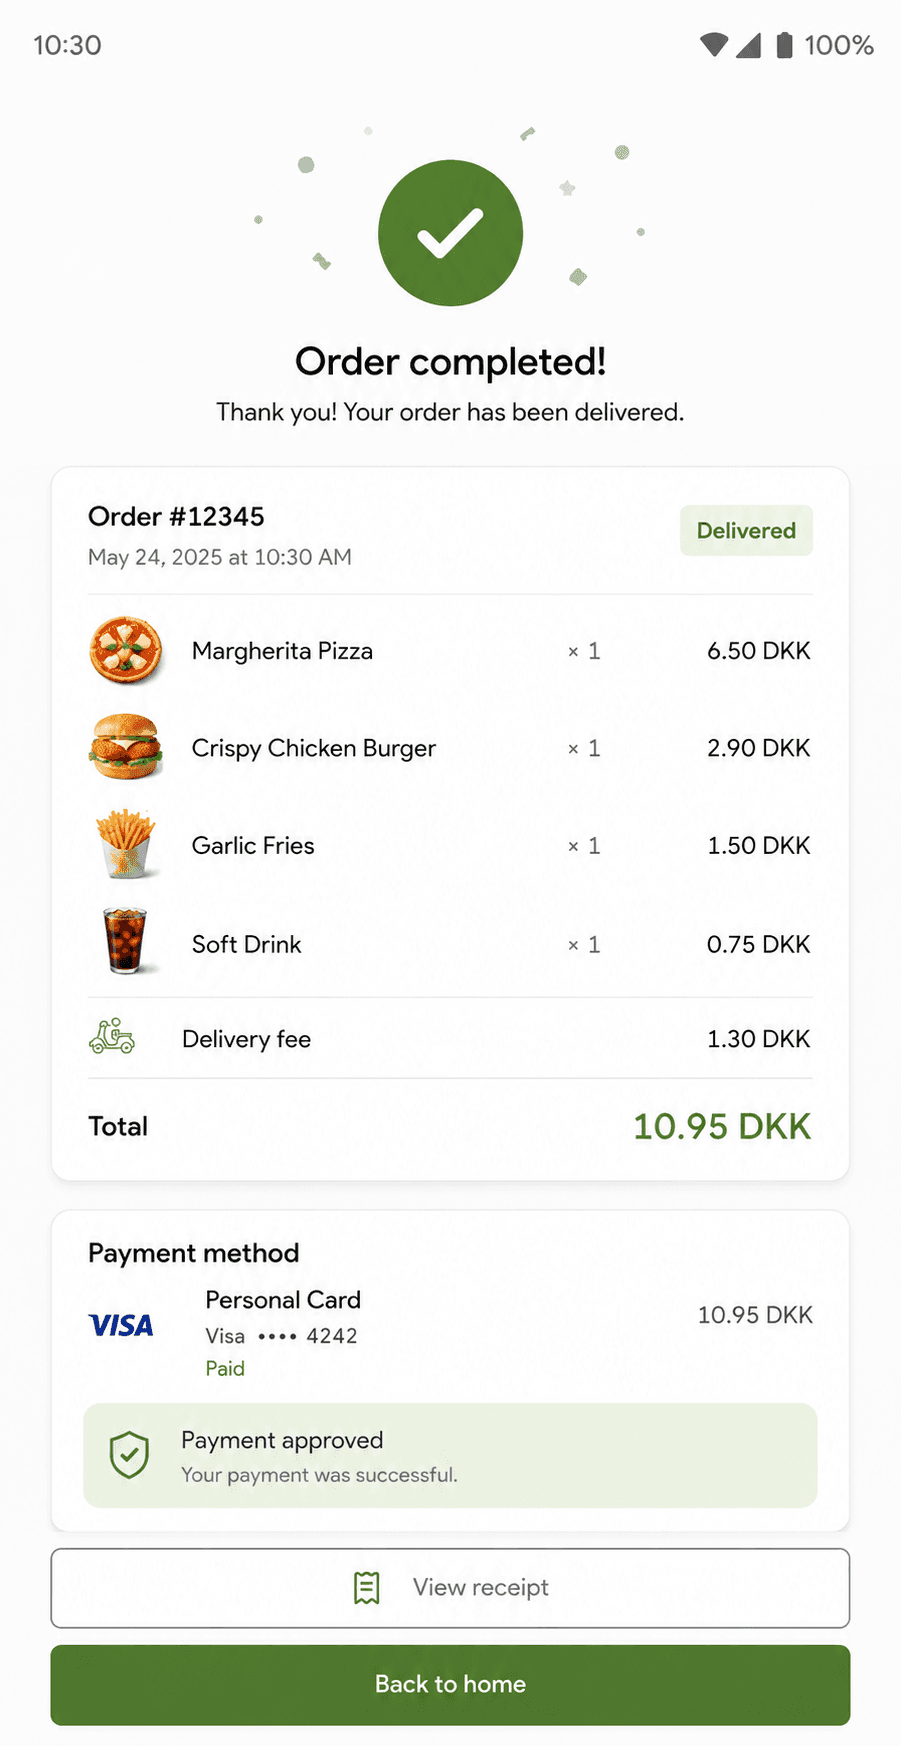
Completed order and confirmed payment
Before you start
You need an authenticated user, a stable customerId, a backend endpoint for payment sessions, a notification endpoint, and a user-profile record for one or more saved paymentMethodId values.
Keep the API key on your backend. Track the payment session ID on your server, then return only the session ID, key, and ePay.js URL to the app.
Use an embedded Webview
In a native app, use an embedded Webview to load ePay.js, mount hosted fields, and start card transactions.
Use the session return URLs for Webview navigation
Set all three return URLs on each payment session:
successUrl: ePay redirects the Webview here after a successful transaction attempt.failureUrl: ePay redirects the Webview here after the final failed attempt, when no attempts remain.retryUrl: ePay redirects the Webview here after a failed attempt when the session still allows another attempt, for example after invalid card input or a cancelled 3DS challenge.
Use the retry page to remount hosted fields for the same session and let the cardholder try again when adding a card. For a saved-card charge, render the appropriate retry or card-selection UI instead. The return URLs are suitable for deciding what UI to show the cardholder, but the asynchronous notification to notificationUrl is the source of truth for saving a card or completing an order.
Add a card to the profile
1. Request a card-setup session
When a signed-in user taps Add card, the app asks your backend for a card-setup session. Derive the user and customerId from authentication; never accept either value from the app request.
Your backend creates a zero-amount CIT session. This performs a full zero-amount authorization to verify and store the card without charging the cardholder. It can include a 3DS challenge when required.
When adding a card, we recommend setting scaMode=FORCE.
This requires Strong Customer Authentication (SCA), such as 3DS, before ePay stores the card and reduces the risk of fraud.
{ "pointOfSaleId": "0192473a-e381-705c-b61c-fc2ac9624afc", "amount": 0, "currency": "DKK", "scaMode": "FORCE", "customerId": "user_123", "reference": "profile-card-setup-987", "notificationUrl": "https://api.example.com/payments/notification", "successUrl": "https://app.example.com/profile/payment-methods/success?sessionId=${session.id}", "failureUrl": "https://app.example.com/profile/payment-methods/failure?sessionId=${session.id}", "retryUrl": "https://app.example.com/profile/payment-methods/retry?sessionId=${session.id}", "attributes": { "action": "SAVE_CARD" }}/public/api/v1/citInitializes a new payment session with the ePay Payments API.
attributes is pass-through metadata. It has no effect on the payment flow, but it returns in the notification and makes it easy to distinguish this card-setup attempt from an order payment.
Save session.id on your backend for tracking. Return only the frontend-safe values to the app:
return { sessionId: payment.session.id, sessionKey: payment.key, javascript: payment.javascript,};2. Open the card-setup Webview
The app opens its embedded Webview and loads ePay.js from the session-specific javascript URL.
<script src="<JAVASCRIPT_URL>"></script><div id="field-window"></div><label> <input id="save-card-consent" type="checkbox" required> Save this card for future purchases</label><button id="add-card" type="button" disabled>Add card</button>Initialize the client, mount the hosted fields, and use inputValidity to enable the button only when the card details are valid.
epay .setSessionId(sessionId) .setSessionKey(sessionKey) .setCallbacks({ inputValidity: inputValidityHandler, }) .init();epay.mountFields("field-window", { variables: {} }); // variables can be used for styling the input fieldsfunction inputValidityHandler(event) { document.querySelector("#add-card").disabled = !event.state.valid;}document.querySelector("#add-card").addEventListener("click", () => { if (document.querySelector("#save-card-consent").checked) { epay.createCardTransaction({ store: true, }); }});Hosted fields are a live payment application. Keep the mounted fields and their iframe in the Webview until the payment completes or ePay starts a redirect flow. Do not remove or replace the Webview content while payment processing is active.
Make it clear that the cardholder is saving their card for future purchases. An explicit required consent checkbox is particularly important in regions such as Denmark.
store: true requests that ePay saves the card for future customer-initiated payments. After a successful payment, ePay redirects the Webview to the session's successUrl.
3. Save the payment method from the asynchronous notification
The Webview redirect means the card setup succeeded for the cardholder, but it is not your server-side confirmation. ePay sends the notification asynchronously after the redirect. Verify the notification authorization and transaction state before updating the profile.
For card setup, the notification attributes include the payment options used by the Webview:
{ "attributes": { "action": "SAVE_CARD", "pspData": { "paymentOptions": { "paymentMethodId": "019aef8c-2771-73f1-a43f-1446f7b0752a", "store": true, "usesPaymentWindow": false } } }}pspData.paymentOptions.store confirms that the Webview submitted the transaction with store: true. Check it together with action and the successful transaction state before saving the returned transaction.paymentMethodId to the authenticated user's profile.
See Handle payment results for notification authorization and handling requirements.
const attributes = data.transaction.attributes;if (attributes.action === "SAVE_CARD" && attributes.pspData.paymentOptions.store === true && data.transaction.state === "SUCCESS") { await savePaymentMethodForUser({ userId: data.session.customerId, paymentMethodId: data.transaction.paymentMethodId, });}Store the card display data from the notification alongside the payment method: data.card.pan, data.card.expireMonth, and data.card.expireYear. For the app UI, show only the last four card digits from the PAN and the expiry date. This limits unnecessary card-number exposure on the client.
For a more native app experience, the Webview pages at successUrl, failureUrl, and retryUrl can send a message through your Webview bridge. The app can then take over the success, failure, and retry UI; only hosted-field entry and 3DS need to remain visible inside the Webview.
Charge a saved card
1. Request a purchase session
Keep the checkout and saved-card summary in the app's native UI. When the cardholder taps Pay, the app asks your backend to create a session for the order. The backend loads the selected paymentMethodId from the authenticated user's profile. ePay validates that the payment method belongs to the session's customerId when the transaction is created.
Create a new CIT session with the same customerId, the actual order amount, and a distinct action for the order flow. This example charges 199.00 DKK.
{ "pointOfSaleId": "0192473a-e381-705c-b61c-fc2ac9624afc", "amount": 19900, "currency": "DKK", "customerId": "user_123", "reference": "order-987", "notificationUrl": "https://api.example.com/payments/notification", "successUrl": "https://app.example.com/orders/987/success?sessionId=${session.id}", "failureUrl": "https://app.example.com/orders/987/failure?sessionId=${session.id}", "retryUrl": "https://app.example.com/orders/987/retry?sessionId=${session.id}", "attributes": { "action": "CHARGE_CARD" }}/public/api/v1/citInitializes a new payment session with the ePay Payments API.
Return the frontend-safe session values and the profile's saved paymentMethodId to the Webview.
2. Charge the saved card in the Webview
Only after the cardholder taps Pay does the app need to open the embedded Webview, load ePay.js, and initialize the new session. It does not need to mount hosted fields for this payment.
epay .setSessionId(sessionId) .setSessionKey(sessionKey) .init();epay.createTransaction({ paymentMethodId: savedPaymentMethodId,});Show a processing state while the payment is handled. ePay redirects the Webview to successUrl, failureUrl, or retryUrl according to the transaction result. Use these destinations for the cardholder's UI, not to finalize the order in your backend.
3. Fulfill the order from the asynchronous notification
When the notification arrives, verify its authorization, match session.id to the order, and confirm that it is a successful CHARGE_CARD. Then mark the order as paid and start fulfillment.
if (data.transaction.attributes.action === "CHARGE_CARD" && data.transaction.state === "SUCCESS") { await markOrderAsPaid(data.session.id);}Return 200 OK after recording the notification. Your handler must be idempotent because ePay retries notifications that do not receive a successful response. For the full notification requirements, see Handle payment results.
Remove a saved card
When the cardholder chooses to remove a card, have your backend disable its stored payment method. Use the paymentMethodId from the signed-in user's profile and authenticate the request with your API key; never expose the API key to the app.
/public/api/v1/payment-methods/{id}Permanently disables a stored payment method for the authenticated customer.
The request permanently removes the payment method from the payment window, so it can no longer be used for quick checkout. It is irreversible and idempotent: ePay returns 200 OK with no response body even if the payment method has already been removed. After a successful response, remove the corresponding paymentMethodId from the user's profile.
What you built
Your authenticated users can add one or more cards to their profile with store: true, and later pay with a selected saved paymentMethodId without re-entering card credentials. Your backend uses the transaction notification attributes, especially pspData.paymentOptions.store, to identify card setup and handles payments independently of Webview redirects to successUrl.
Helpful notes
Letting the user use another card
The primary flow is saved-card payment. If a card is missing, expired, or declined, you can offer Add another card and return to the profile card-setup flow above. Keep this fallback secondary so users with a saved card get the fast purchase experience.
Retrying a saved-card charge
For saved-card payments, a single attempt is often the simplest choice. If your session allows another attempt, use the retryUrl to show UI that lets the cardholder try the selected card again, choose another saved card, or add a new card. Do not treat the redirect itself as server-side confirmation; wait for the payment notification before marking the order as paid.
CIT versus MIT charges
This guide covers a cardholder actively tapping Pay in the app. It is a customer-initiated transaction (CIT). Do not use this flow for recurring or background charges without the customer present; use the subscription/MIT flow instead.