ePay WooCommerce plugin
ePay WooCommerce Payment Module Documentation
The ePay payment module integrates seamlessly with WooCommerce—WordPress’s leading eCommerce extension—so you can start accepting card payments quickly. Whether you are just testing or ready for production, the module supports both test and live environments with a simple upgrade process.
Prerequisites
-
ePay Account:
Sign up for a free ePay account. -
WordPress & WooCommerce:
Install WordPress and the WooCommerce plugin before installing the ePay module. -
Backup Your Site:
Before installing new plugins, always back up your website to prevent data loss.
Installation
The payment module can be installed from the WordPress admin, either through the WordPress Plugin Directory or by uploading a .zip file manually.
Install the payment module through the WordPress Plugin Directory (Recommended method)
-
Log in to wp-admin with an administrator account.
-
In the menu on the left, select Plugins > Add New.
-
In the search field, search for "epay".
-
Find the module in the list and click Install Now.
-
Select Activate Plugin if you want the plugin to be active after installation.
Install the payment module from a .zip file
-
Request the module as a .zip file from ePay support.
-
Log in to wp-admin with an administrator account.
-
In the menu on the left, select Plugins > Add New.
-
Click on Upload Plugin.
-
Locate and select the plugin .zip file on your local computer, then click Open.
-
Click Install Now.
-
Select Activate Plugin if you want the plugin to be active after installation.
Configuration in WooCommerce
-
In the WordPress admin, go to WooCommerce > Settings.
-
Click on the Payments tab and select "ePay Payment Solutions - EPIC" from the list.
-
Check the box labeled Enable ePay.
-
Click on "ePay Payment Solutions - EPIC" and enter your API Key and PointOfSale ID, which can be found in ePay's Backoffice at https://app.epay.eu/ under Indstillinger > Udviklere and Betalinger > Salgssteder.
Make sure to use the correct credentials for either test or production environments.
After these steps, your module is installed. It’s now time to test it!
Test the Payment Module
Before going live, ensure your payment module works correctly:
-
Domain Registration:
- Register the domain from which you are testing in your ePay administration under Betaling → Salgsteder.
- An unregistered domain may prevent the payment window from opening for customers.
-
Perform a Test Transaction:
- Complete a purchase in your store.
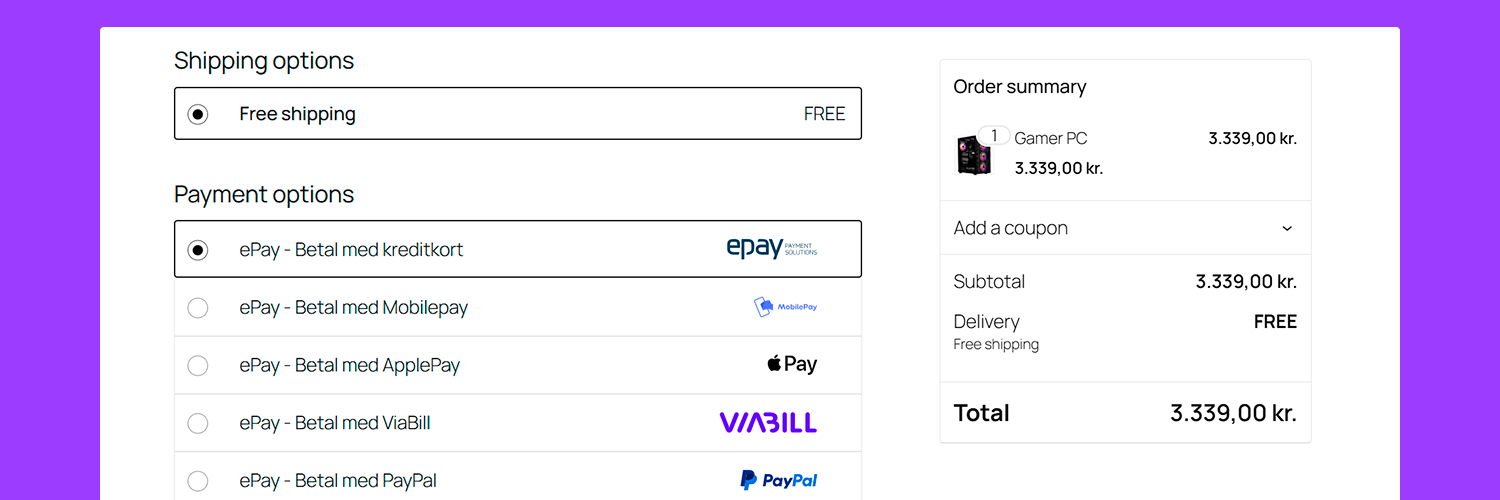
- Fill in your details, choose ePay as the payment method, and click Place Order.
- The payment window will then open (an overlay version is used by default).
-
Customize the Payment Window:
- You can add your logo and company information to the payment window.
- To customize, log into your ePay administration and navigate to Betaling → Betalingsvinduer.
Once the payment is completed, the customer is redirected to the WooCommerce order confirmation page, which you can edit from within WordPress.
Configuration in WooCommerce
Module Settings
Access the module settings in WooCommerce → Settings → Payment Gateways and click on ePay. Configure the following parameters:
| Setting | Description |
|---|---|
| Title | The name of the payment method as seen by customers at checkout (e.g., "Pay with Credit Card"). |
| Description | A short description of the payment method that appears at checkout. |
| API Key | Your API key. Can be found in the ePay backoffice. |
| PointOfSale ID | The ID of your Point of Sale. Can be found in the ePay backoffice. |
| Credit card icons | Select the card icons you would like displayed alongside the ePay payment option in your shop. |
| Instant capture | Enable this option to capture the payment immediately, suitable for instant product delivery (e.g., digital downloads). |
| Remote interface | Activate this to capture, credit, or delete payments directly from WooCommerce without logging into the ePay administration. |
You can also manually define parameters in your module files if needed. See our technical documentation for a complete list of available parameters.
Subscription Payments
ePay’s module supports recurring (subscription) payments out of the box. To enable subscriptions download and install the official WooCommerce Subscriptions plugin.
Processing Payments from WooCommerce
You can manage payments directly from your WooCommerce administration:
-
Enable Remote Interface:
- In the ePay module settings, ensure Remote interface is activated.
-
Payment Management:
- When viewing an order in WooCommerce, you'll see detailed payment information such as:
- Transaction number
- Order number
- Currency
- Authorized, captured, and credited amounts (with timestamps)
- Description and cardholder's name (if available)
- Transaction fee (if applicable)
- To capture a payment, click the order number in the orders menu and select Capture.
- Once captured, a Credit button appears to process refunds (full or partial).
- When viewing an order in WooCommerce, you'll see detailed payment information such as:
FAQ & Troubleshooting
Common Questions
What should I do if I encounter conflicts with other plugins?
Many issues are caused by conflicts with other plugins or custom themes. Try:
- Updating to the latest version of the ePay module.
- Switching to a default WooCommerce theme.
- Deactivating other plugins one-by-one to isolate the conflict.
- Contacting us with details about any specific plugin conflicts so we can work on compatibility improvements.
Error Messages and Solutions
Error Code 403
If you see error code 403, it might be due to conflicts with the iThemes Security plugin.
Solution:
- Deactivate Hackrepair.com's blacklist feature under Banned users in the plugin settings.
- Contact iThemes Security for further assistance.
For further assistance or to report any issues, please contact our support team.
Happy selling with ePay and WooCommerce!